Stay Connected Anywhere: How International eSIMs Are Changing the Way We Travel
When you land in a new country, your phone connects instantly to a local network, and your international eSIM has already activated a data plan—all without swapping a physical SIM card. This embedded chip lets you download and manage multiple mobile profiles directly from your device’s settings, so you can switch between carriers or plans for different regions with a few taps. Because it works with a simple QR code scan or app installation, you can set it up before departure or even while abroad, and enjoy seamless connectivity, clear pricing, and no roaming fees. For frequent travelers, international eSIM technology is the most direct path to hassle-free, secure mobile data across borders.
What Exactly Is an International eSIM and How Does It Work?
An international eSIM is a digital SIM card you install on your phone that connects to partner cellular networks across multiple countries, eliminating the need to buy physical SIMs abroad. Instead of swapping cards, you scan a QR code or download a profile, which stores your plan’s data. When you land, your phone automatically latches onto a local network that your eSIM provider has agreements with, then routes your traffic through secure servers. You manage everything—top-ups, data limits, and active plans—from an app. Q: Does it replace your home number? A: No—it runs side-by-side, so you keep your regular SIM active for calls or texts while using the eSIM for data. You just toggle which line uses cellular data, making it feel like you’re on Wi-Fi almost anywhere.
The Simple Tech Behind Embedded SIMs for Travelers
An international eSIM replaces the physical plastic card with a tiny, soldered chip inside your phone. You don’t swap anything; instead, you scan a QR code or tap an app, and a profile—your new network credentials—is securely written onto that chip. This profile holds the same data a physical SIM does, but it’s software, so switching carriers means downloading another profile, not hunting for a pin. Your phone then treats this embedded chip as a second line, letting you keep your home number active while using local data abroad. It’s radically simple: no roaming contracts, no fragile nano-SIMs to lose mid-trip. Traveler-friendly eSIM activation happens in under two minutes, usually over Wi-Fi, and the chip stores multiple profiles simultaneously, so you toggle carriers in your settings like changing watch faces.
Q: Do I need to open my phone to install a traveler eSIM? No—the embedded chip is permanent hardware, but profiles are installed remotely, so you never touch the internals. Just scan, confirm, and you’re connected.
How Your Phone Switches Between Local Networks Abroad
When you land abroad, your phone does not manually hunt for towers; it relies on the eSIM’s embedded profile to fetch a list of preferred local partner networks. The handset scans available frequencies and selects the strongest compatible signal based on the carrier profiles stored in your eSIM, then automatically re-registers to that local operator. As you move across borders, the device performs a background network sweep, re-evaluating signal strength and roaming agreements every few minutes, and silently switches to a better local tower without dropping your data session. This handoff uses the same signaling protocols as a domestic cell transition, so the switch is seamless. Crucially, your phone prioritizes the automatic local network selection only if your eSIM profile includes roaming partnerships for that specific country; otherwise, it stays on a weaker “forbidden” signal until manual override.
Your phone continuously scans, ranks, and latches onto the strongest partnered local tower via your eSIM profile, switching networks mid-session without interrupting data.
Why You Should Ditch Physical SIM Cards for Global Connectivity
Ditching your physical SIM for an international eSIM is the smartest move for stress-free travel. You avoid the frantic hunt for a local SIM vendor at baggage claim and the hassle of juggling tiny plastic cards. With an eSIM, you can activate and switch between global data plans directly from your phone’s settings, usually in under five minutes. This means you land, scan a QR code, and you’re instantly online—no airport kiosks or language barriers. Plus, you keep your primary number active for calls and texts while using a second eSIM for local data, a feature most recent flagship phones support with dual SIM capability. No more losing connectivity or paying absurd roaming fees; your connection is just a few taps away, wherever you roam.
Instant Activation Without Hunting for a Local SIM Store
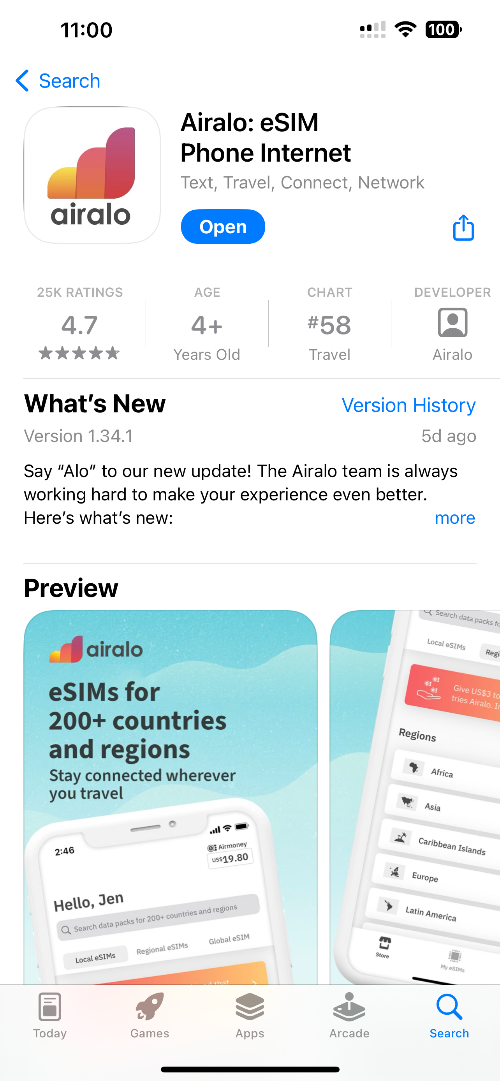
The most immediate relief of switching to an international eSIM is instant activation without hunting for a local SIM store. You purchase a data plan online and receive a QR code or manual activation code via email within minutes. After scanning the code, your device connects as soon as you land, using the network the eSIM provider has already negotiated. No need to find a kiosk, queue behind other tourists, or fumble with a paperclip to eject your tray. If your flight lands at 2 AM, that activation still works because the provisioning server is always on. The practical sequence is: 1) Buy the plan before departure, 2) Scan the QR code at home on Wi-Fi, 3) Toggle the eSIM line on the moment you arrive, and 4) Forget about retail stores entirely.
Keeping Your Primary Number Active While Using a Data Plan
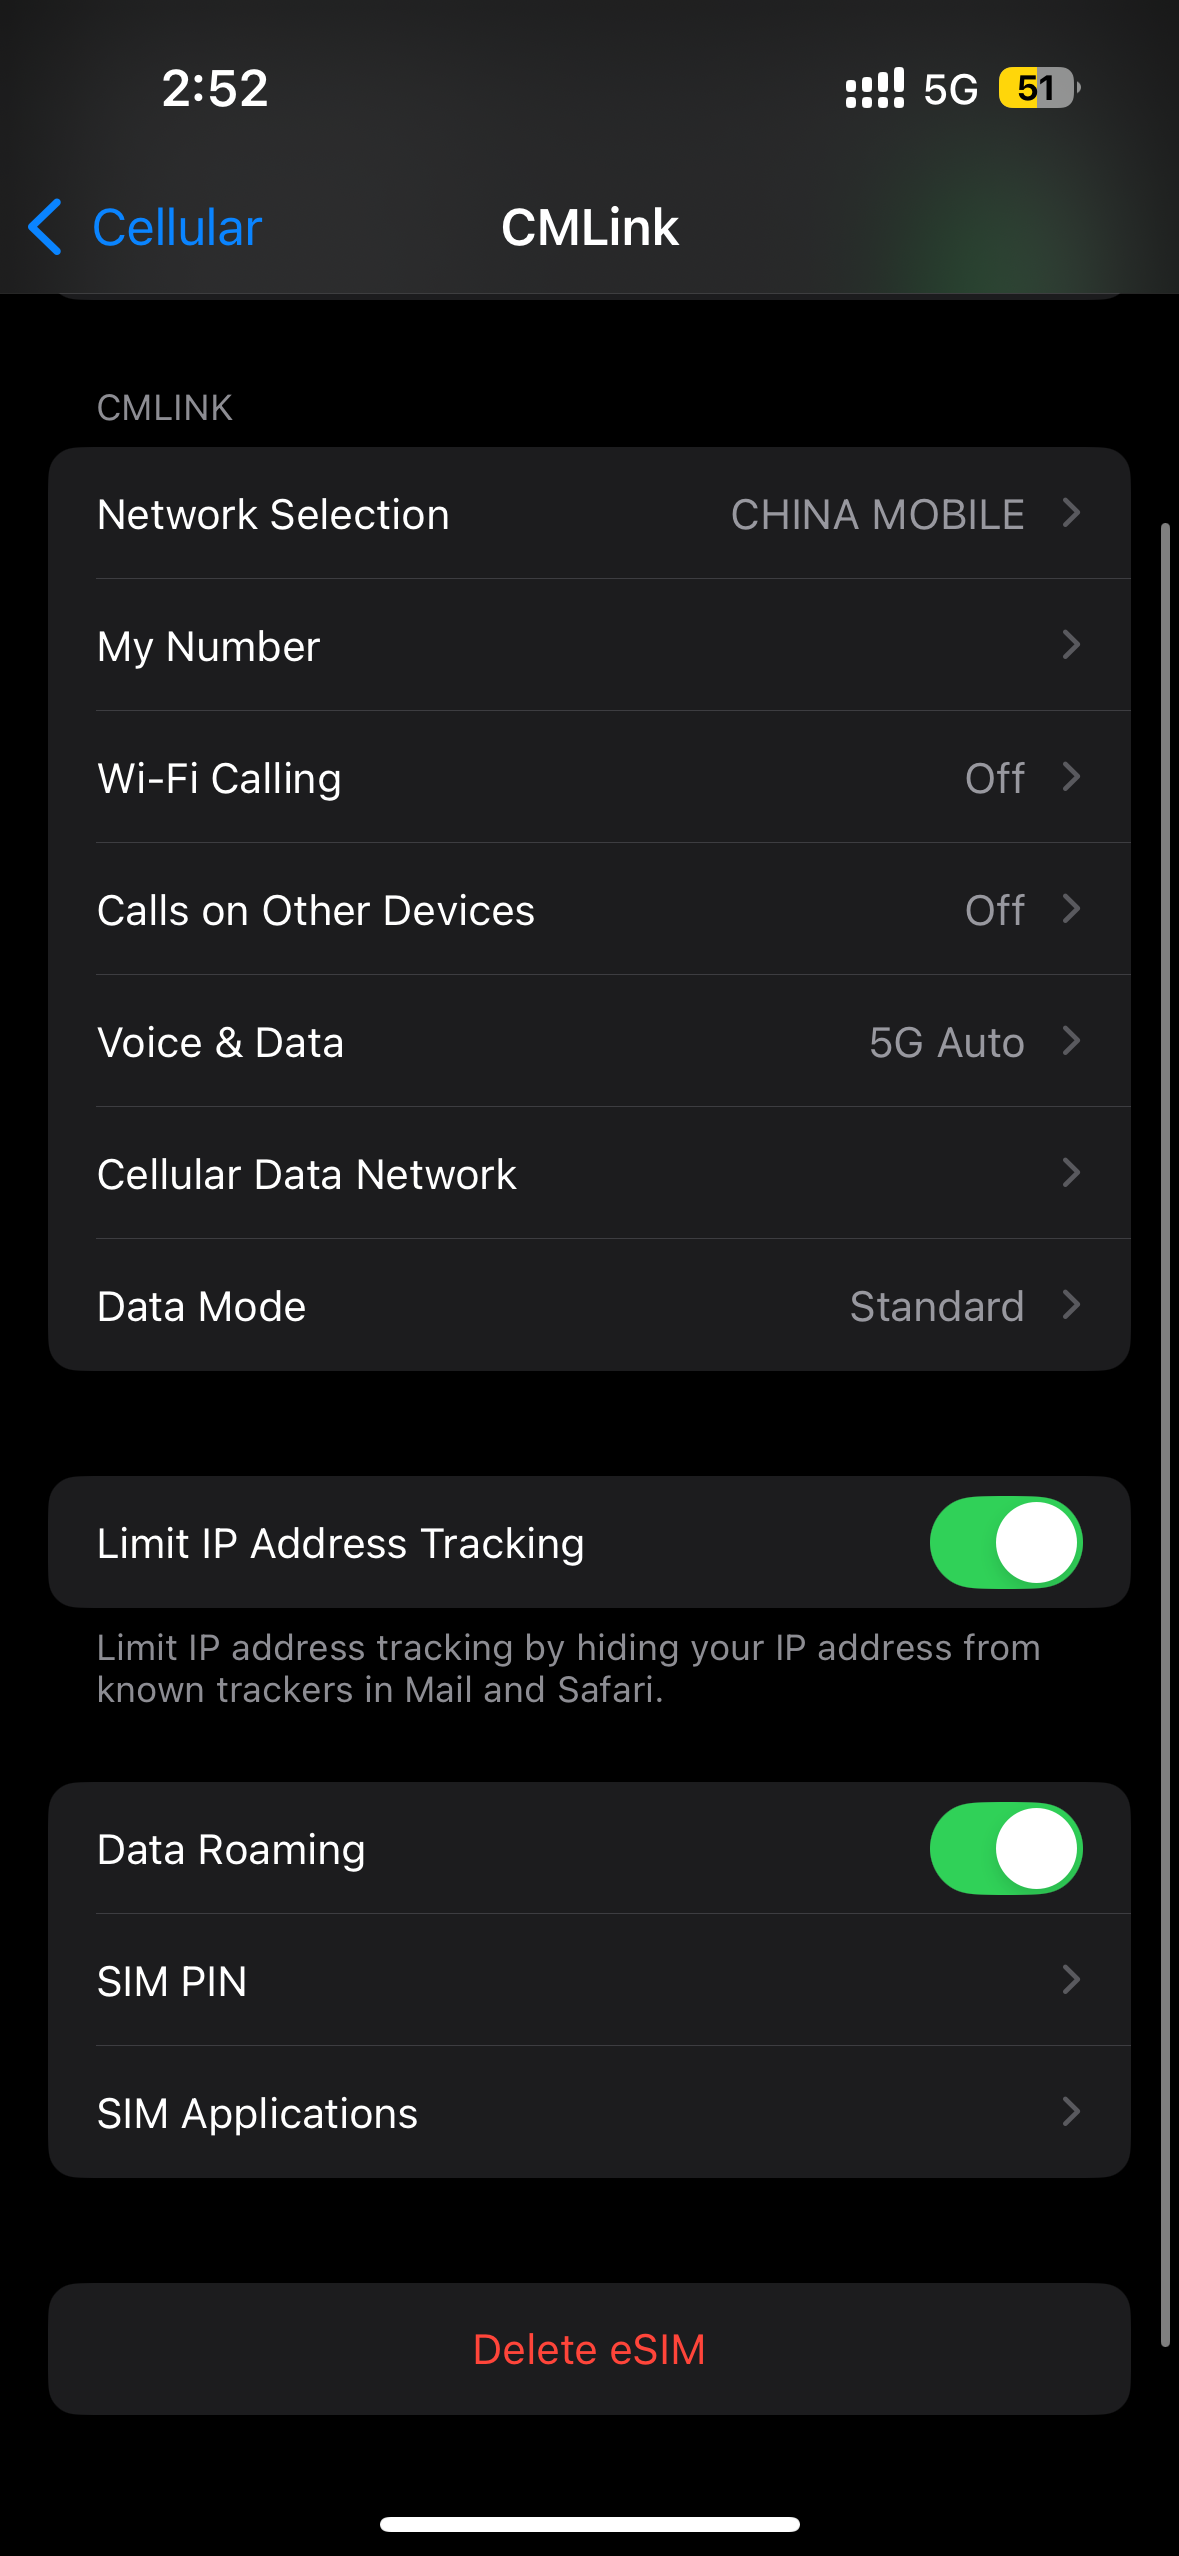
Keeping your primary number active while using a data plan is effortless with an eSIM, as your physical SIM can remain installed for calls and SMS. You do not need to remove it, so 2FA codes and banking alerts still arrive on your home number. Simply set the eSIM as the default for cellular data, while your physical SIM handles voice—this avoids roaming charges for data without killing your main line. Managing dual SIMs effectively means toggling “Data Roaming” off on your primary SIM to prevent accidental charges. Your phone will intelligently route calls through the physical SIM even when the eSIM is active for internet.
Q: Does using an eSIM data plan offline my primary number?
A: No, your primary number stays active for calls and texts on the physical SIM; only mobile data switches to the eSIM, so you never lose reachability.
Cost Savings Compared to Roaming Fees—When It Makes Sense
Ditching your physical SIM for an international eSIM delivers immediate, tangible savings the moment you land abroad. Traditional roaming fees often tack on $10–$15 per day for a meager data allowance, while a regional eSIM data package can cost a fraction of that for the entire trip. The savings become truly significant on multi-country itineraries, where carrier roaming charges multiply per nation. A traveler spending two weeks across Europe might pay over $200 in roaming fees, whereas a 10GB eSIM plan costs roughly $30–$40. The math flips decisively in your favor—eSIM data plans save up to 80% versus daily roaming charges—when you need more than occasional map checks, such as streaming, video calls, or heavy navigation.
How to Choose the Right Global Data Plan for Your Trip

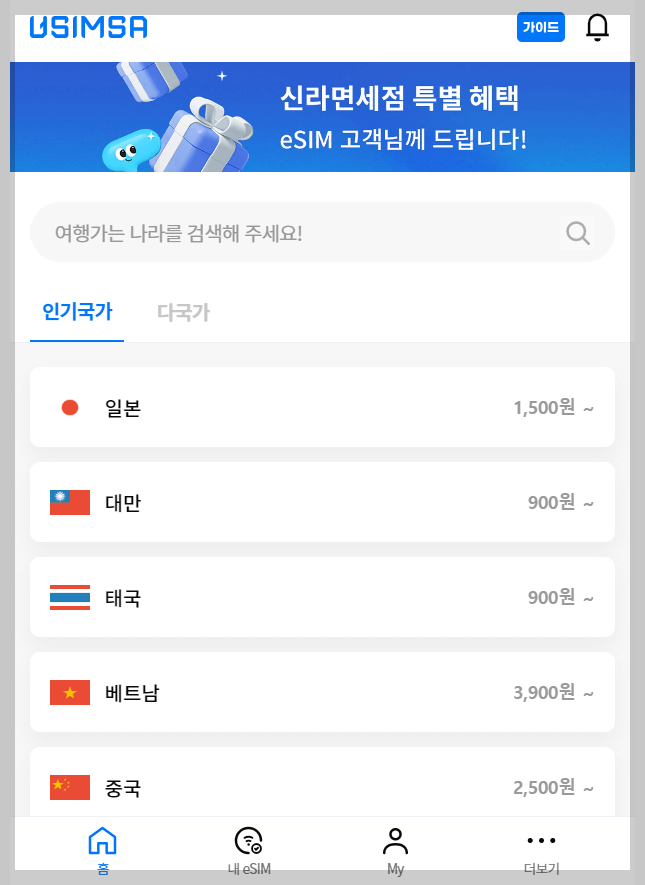
Choosing the right global data plan starts with mapping your itinerary to the eSIM’s coverage map, not just its flashy “global” label. Check which specific countries you’ll visit, then match the plan’s data allowance to your real habits—streaming and navigation burn through gigabytes fast, while messaging-only trips can survive on 1GB. Prioritize plans with flexible validity windows that span your full travel dates, avoiding those that expire mid-trip. Speed tiers often matter more than raw data, especially for video calls or hotspot tethering. Compare the per-day cost against your current carrier’s roaming rate, but remember that a slightly pricier eSIM with instant activation and 24/7 support beats a cheap one that leaves you stranded. Finally, confirm the eSIM supports dual-SIM mode so you keep your home number active. Scan user reviews for real-world connectivity complaints before paying—coverage maps can lie.
Regional vs. Worldwide Coverage: Which One Fits Your Itinerary
Matching coverage to your actual route is the difference between seamless travel and a dead spot at a border crossing. A regional eSIM—say, for Europe—shines when your itinerary hugs one continent, letting you hop from Paris to Prague without re-purchasing data. Worldwide plans, by contrast, are your safety net for multi-continent sprints, like Tokyo to Toronto in one week, where per-country top-ups would drain your time. Yet regional plans often outprice worldwide ones for single-destination trips, since global bundles bundle in pricier coverage you’ll never touch. Before buying, map every stop—even layovers—and count countries. If it’s five or fewer in one zone, go regional; if you’re zigzagging across oceans, pay for worldwide to avoid urgent, overpriced roaming at arrival.
Choose regional for single-zone trips; choose worldwide only when your itinerary spans multiple continents—never pay for unused reach.
Decoding Data Allowances, Speed Caps, and Validity Periods
When comparing international eSIM options, don’t just glance at the gigabyte count—decoding data allowances means checking whether that figure is for total usage or daily allotments, as many plans reset quotas every 24 hours. Speed caps are the silent killers: a “5GB” plan might throttle you to 128 kbps after the first 500MB, making maps and messaging painfully slow. Always verify the peak speed before purchase, especially for video calls. Validity periods dictate your travel window, so match the plan’s active days to your exact itinerary, remembering that some eSIMs count from first connection, not purchase. A 30-day plan used over 45 days leaves you scrambling for a top-up mid-trip. Prioritize plans that state fallback speeds and validity extension options clearly, avoiding surprise cutoffs during layovers or extended stays.
Checking Device Compatibility Before You Buy
Before purchasing an international eSIM, verify your smartphone is both unlocked and eSIM-compatible. Check your device’s IMEI number through your settings or by dialing *#06#; if an EID number appears, your phone supports eSIM hardware. Confirm that your home carrier has not SIM-locked the device, as this blocks foreign profiles. Visit your manufacturer’s official compatibility page—Apple, Samsung, and Google list exact models and regional variants—because some international models, like certain Chinese or Latin American versions, omit eSIM features despite similar names. Finally, ensure your phone’s operating system is updated to the latest version, as older firmware often fails to recognize new eSIM profiles.
Always confirm your device is unlocked, eSIM-enabled, and on the latest OS before buying—this prevents wasted purchases and connectivity failures.
Step-by-Step Guide to Setting Up and Managing Your eSIM
To set up an international eSIM, first verify your device is carrier-unlocked and supports eSIM technology. Purchase a data plan from a reputable international eSIM provider, then scan the QR code delivered via email into your phone’s *Cellular* settings. Activate the plan only when you’re at your destination to start the validity period, and set the eSIM as your **primary data line** while keeping your physical SIM active for calls and texts. Manage usage by tracking data through your provider’s app, and top up or extend the plan remotely if needed.
Always download the eSIM profile before departure and keep a screenshot of the QR code—offline access to your activation details prevents travel-day headaches.
To switch between multiple international eSIMs, label each line in settings and disable unused ones to avoid accidental roaming charges.
Scanning a QR Code vs. Manual Installation—What to Expect
Scanning a QR code is the fastest route—usually under a minute—since your phone’s camera instantly captures the eSIM profile. Manual installation requires typing in a long activation code (often with dashes and letters), which risks typos and extra steps. For international travel, QR codes shine when you’re juggling airport Wi-Fi and a tight layover; manual entry becomes a lifesaver if the QR code arrives blurred or fails to scan due to screen glare. Both methods require a stable connection, but QR ensures **instant verification and activation** without hunting through settings menus. Expect manual setup to take 5–10 minutes, especially if your device prompts for carrier confirmation. Test either method before departure.
Q: Which is more reliable for international eSIMs—QR or manual installation?
A: QR scanning is generally more reliable because it eliminates human error, but manual entry is your fallback when the QR image is damaged or unsupported by your camera. Always save the code in a note app as a backup.
Switching Between Multiple eSIM Profiles on One Phone
Switching between multiple eSIM profiles on one phone is a breeze once you know where to tap. On iPhone, head to Settings > Cellular, then tap the plan you want to activate and toggle it on—your other profiles stay dormant but intact. Android users, jump into Connections > SIM card manager (or similar) and simply select your preferred line for data and calls. The key trick is designating a **default line for international data** while keeping your home number active for SMS. Most phones let you switch in under ten seconds, no restarts needed. Just remember:
- Keep your primary profile set as the fallback for calls
- Turn off automatic data switching to avoid roaming surprises
- Label each profile clearly (e.g., “Japan Trip”) for quick recognition
Troubleshooting Common Connection Issues While Traveling
When troubleshooting common connection issues while traveling with an international eSIM, first toggle airplane mode for 30 seconds to force a network re-registration. If data fails, manually select your carrier under network settings, as automatic roaming picks the wrong tower. For persistent drops, verify that APN settings match your eSIM provider’s exact values—a missing “iot” or “internet” suffix blocks data entirely. Also, confirm the eSIM profile isn’t set to “off” for the destination region, and check if your phone restricts background data for the eSIM line. *A quick reboot after changing any setting often resolves half the issues.* If latency spikes remain, switch from “5G” to “LTE” in preferred network type, since cross-border 5G handovers are unstable. Finally, disable Wi-Fi calling if calls fail, as it conflicts with cellular routing.
| Issue | Quick Fix |
|---|---|
| No data after landing | Airplane mode toggle, then manual carrier search |
| Slow speed | Switch to LTE, and close VPN |
| Cannot send MMS | Re-enter APN with correct proxy settings |
Pro Tips for Maximizing Value and Avoiding Pitfalls
Maximize value by purchasing regional or global eSIM plans only after verifying your exact destinations, as country-specific packs often undercut multi-region prices by up to 40%. Activate your eSIM only upon arrival to prevent the plan’s validity from burning during transit, and always download the eSIM profile before you leave—you’ll need Wi-Fi, not cellular data, to install it. Avoid the pitfall of auto-connect roaming; set your phone to “Data Roaming” off and manually select a New Zealand eSIM local network per the provider’s instructions, or you’ll trigger sky-high incidental charges from your home carrier. Use Wi-Fi calling or messaging apps for voice communication, since most data-only eSIMs charge exorbitant per-minute rates or block calls entirely. Finally, test tethering early—some plans prohibit hotspots, so confirm this feature before relying on it for laptops.
Combining a Data-Only eSIM with a VoIP App for Calls
Pairing a data-only eSIM with a VoIP app is the smartest way to keep calls cheap while traveling. Instead of paying hefty per-minute rates on a traditional cellular plan, you use your eSIM’s data allowance for apps like WhatsApp, FaceTime, or Google Voice. Just ensure you have a stable connection and close background apps that hog bandwidth, then set your VoIP app to use “low data mode.” This combo works flawlessly for short check-ins or business calls, but remember that call quality depends entirely on your local data speed, so test your connection before committing to a long conversation.
Monitoring Data Usage to Prevent Unexpected Cutoffs
To avoid abrupt disconnection abroad, treat your eSIM’s data counter as your primary safety tool, not a rough guess. Most provider apps offer real-time tracking, but these numbers can lag, so enable automatic alerts at 50%, 75%, and 90% of your allowance. On both iOS and Android, set the device’s own data limit to mirror your plan, creating a secondary failsafe against overages. Crucially, remember that background tasks—like email sync or cloud backups—often consume more than app usage, so review per-app statistics daily. By actively auditing consumption, you transform unexpected cutoff prevention into a routine habit, ensuring your connectivity remains uninterrupted exactly when you need it.
What to Do If Your Plan Runs Out Mid-Trip
When your international eSIM data depletes mid-trip, the first move is to check your provider’s app or portal for a quick top-up option, as most carriers allow instant data add-ons without purchasing a new eSIM. If top-ups are unavailable, buy a local prepaid eSIM from a regional provider, scanning QR codes from official airport kiosks or verified websites. Never disable your eSIM before confirming the new one activates, or you may lose your original number temporarily. Alternatively, switch your phone to Wi-Fi calling and use offline maps to stretch remaining time until you reach a stable connection. Finally, review your usage logs to identify data-heavy apps and adjust settings—like background refresh and auto-downloads—to prevent future depletion. Prioritize these steps before considering a physical SIM, which can be inconvenient mid-journey.